

How To Create A Photography Page
Sep 06, 2021
Domantas G.
7min Read
How to Make a Photography Website

If you have a talent for capturing breathtaking moments with a camera and are looking to monetize it or gain more reach, photography website is a must.
One of the toughest parts of any new business or project is getting the right exposure and acquiring potential clients. This is where knowing how to make a website becomes crucial.
Without a photography website, only your friends, direct customers, or social media followers will know what you do. But with a photography website, the entire world becomes your market.
Want to know the best part? You can make a website to showcase your photography in just 5 simple steps:
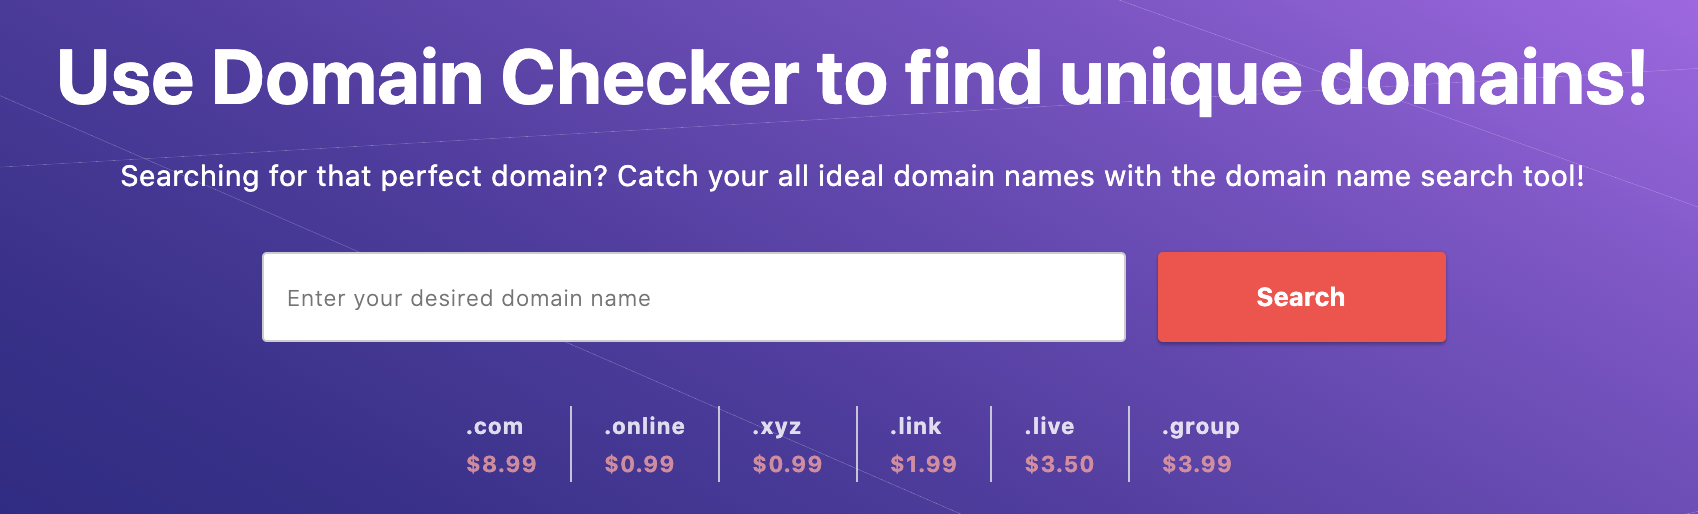
Step 1. Choose a domain name

The first step when you make a photography website is quite simple, coming up with a website name.
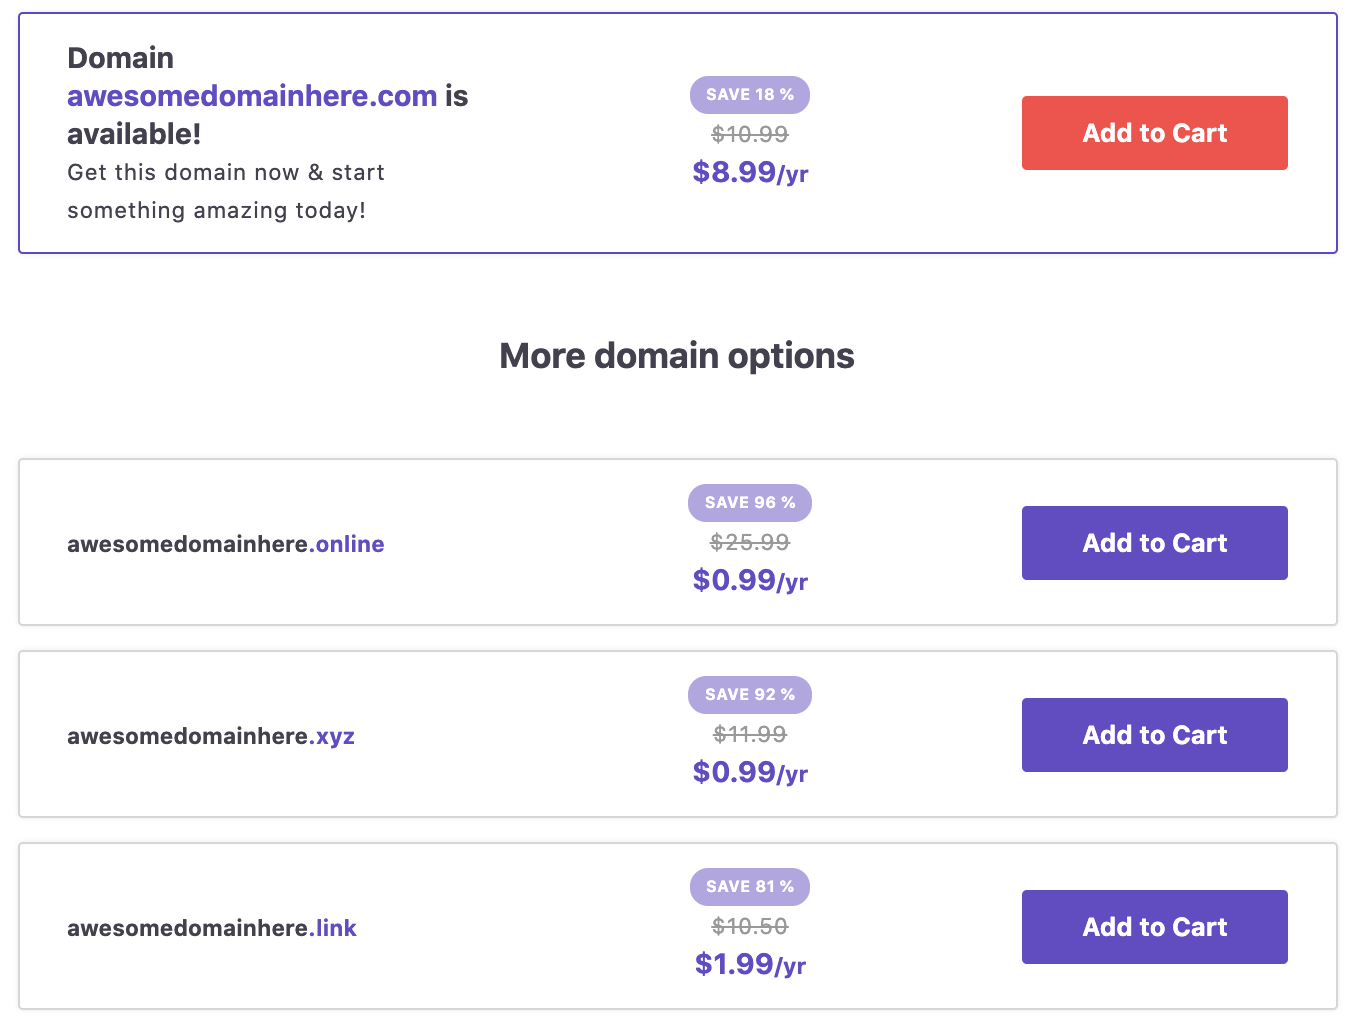
Luckily, buying a domain name is a fairly simple process. To begin, make sure to come up with a few ideas and then use a domain checker to see if they're available for registration.
Here are a few tips to name your photographers website:
- Keep it short and simple. While it may be harder to find, a shorter name will be easier for your visitors to remember.
- Avoid hyphens and symbols. Don't make it too difficult to type. Random symbols can be mistaken for other letters as well.
- Go for .com. As the most recognizable TLD, a .com domain will be a solid and professional fit for your photography site.
Step 2. Get a web hosting plan

Next, you'll need to find a place to host your photography website. Make sure your host includes website builder options and has all the resources you need for your perfect website.
With Hostinger's shared hosting, you don't need to worry about anything. You'll find everything you need to build a strong online presence. Such as:
- Custom control panel. Manage every aspect of your web hosting service in the same place.
- Free domain registration. Annual Premium and Business plans include a free .com; .net; .org; .online, or .xyz domain registration.
- Professional email service. Create domain-based email accounts and use them to get in touch with visitors and clients.
- 1-click installer. WordPress, Joomla, Drupal, and many other popular website builders are within your fingertips.
- Website builder. Including a drag-and-drop tool with numerous themes and an easy to use interface.
In case you need more power in the future, Hostinger offers seamlessupgrade options to cloud hosting.
Step 3: Choose a platform for your photography website

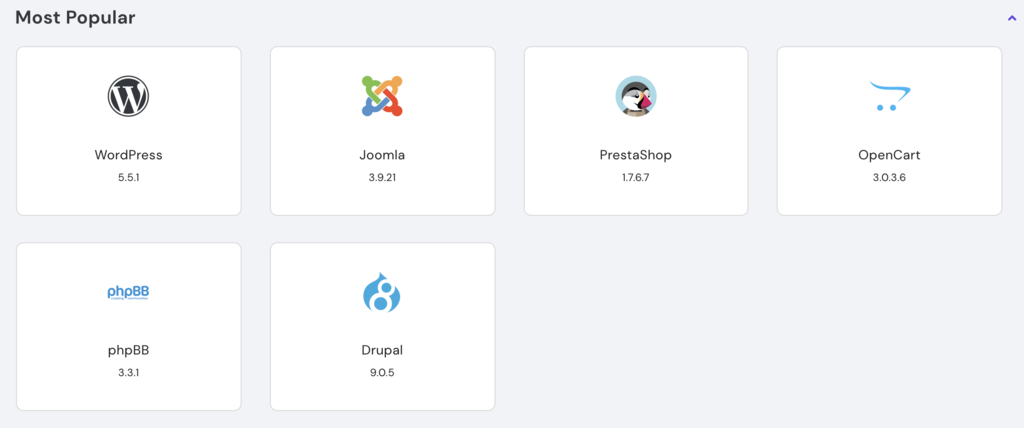
There are many website builders that you can use to make a photography website, but none stand out as much as WordPress. As one of the best CMS platforms for creating a website, here are just some of the perks included:
- Easy to set up. Manual installation takes no longer than 5 minutes. While on Hostinger, you can set it up even faster with the 1-click installer.
- Has a huge community. WordPress is backed up by thousands of contributors and developers all over the globe.
- No technical knowledge needed.While coding skills can certainly help, creating a photography website with a WordPress site can still be done without ever touching a line of code.
- Rich features. A library of plugins and themes makes it easy to add new features and improve your content.
Other popular website builders include Joomla and Drupal. Although they have a steeper learning curve and a smaller selection when it comes to extensions and templates. Therefore we recommend trying out WordPress first.
To install one of these platforms on Hostinger, you need to first login to your web hosting control panel:
- Navigate to the Auto Installersection
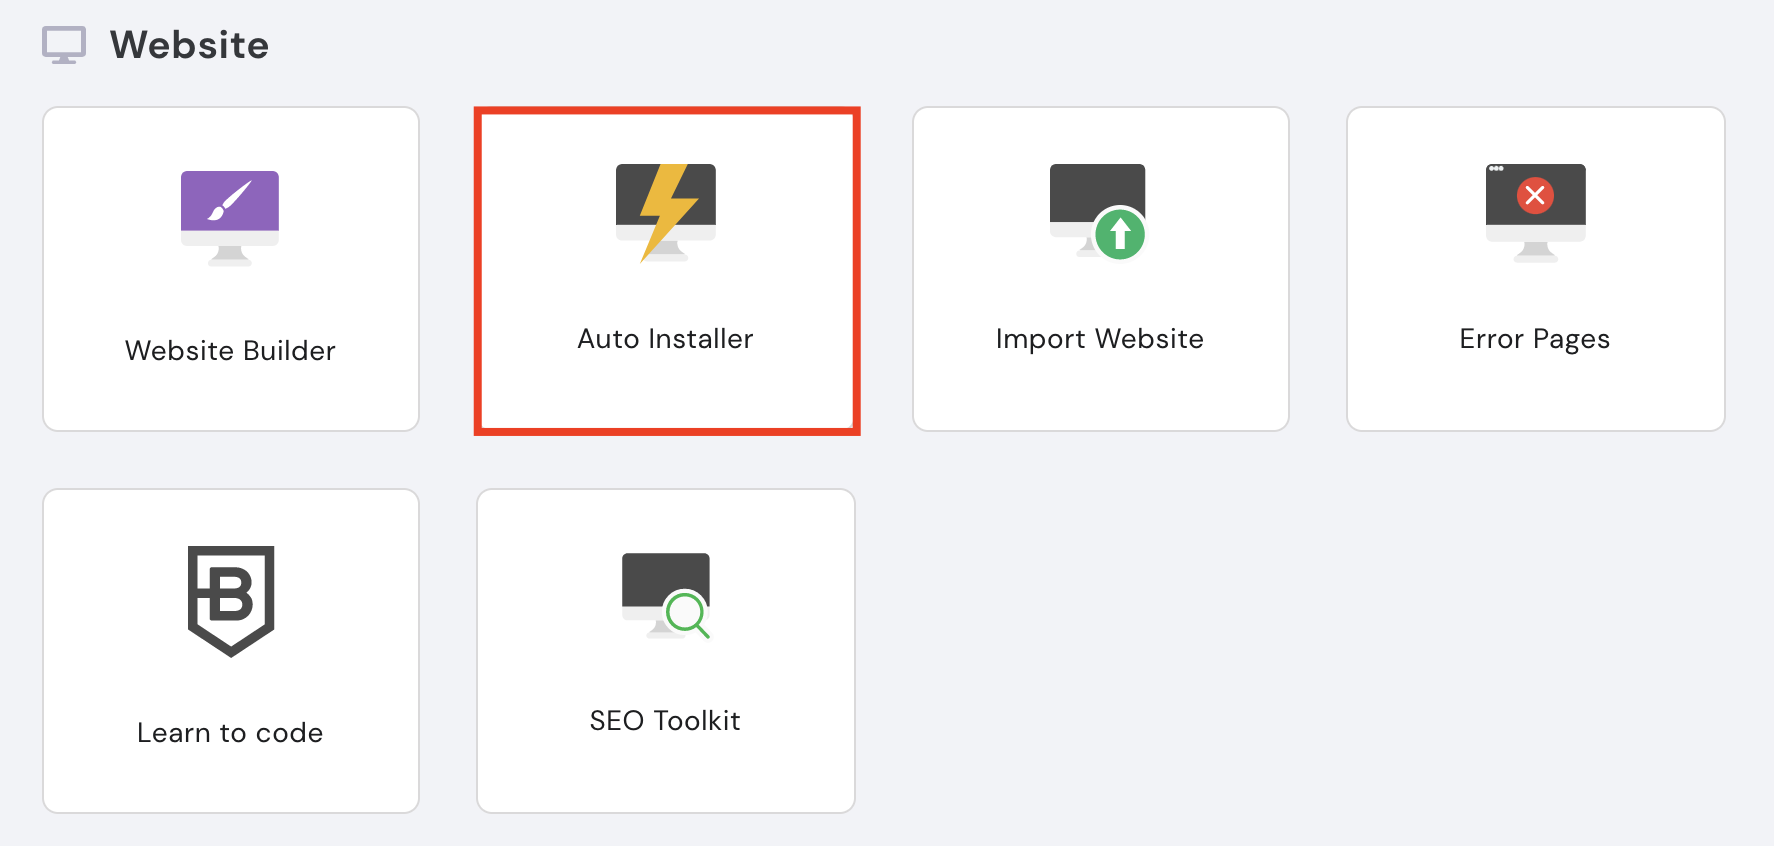
- Choose your platform and follow the installation instructions.
During this process, you'll need to fill in your WP admin credentials, which you use to access your dashboard. Once done, use example.com/wp-admin to access it.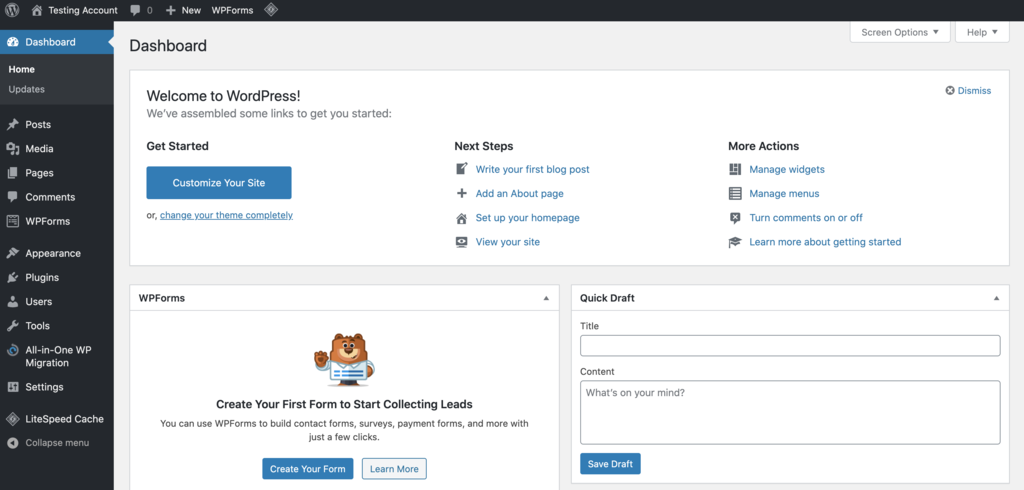
Within this panel, you can control everything related to your WordPress site and its content.
Step 4: Customize your photography website

Now comes the fun part – customizing all the parts of your portfolio website. Look through some web design inspiration to get your ideas going! Below, we'll go over the main aspects of your website that you should cover before you launch.
Choose a Theme
Finding the right template may take a while, but luckily there are plenty of WordPress photography themes to choose from. Here are a few of the most popular:
Bootstrap Photography
Choose from different layouts such as nature, fashion, or portfolio. Easily customize your images, logo, and fonts with its drag-and-drop tool.
Online Photography
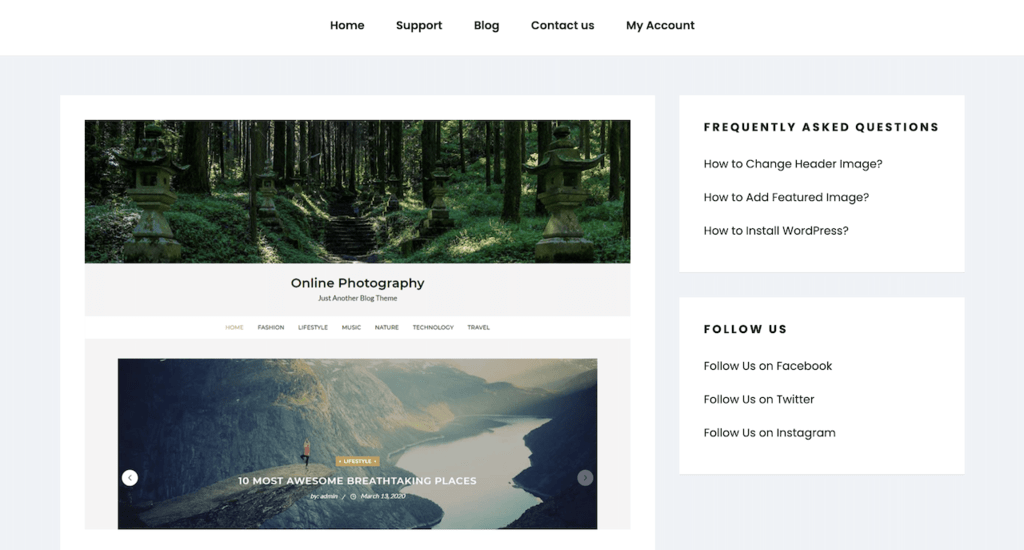
A minimalist theme for those who want to create a simple website. This theme comes loaded with creative features such as an Instagram widget, theme options, colors, layouts, and more
Bold Photography
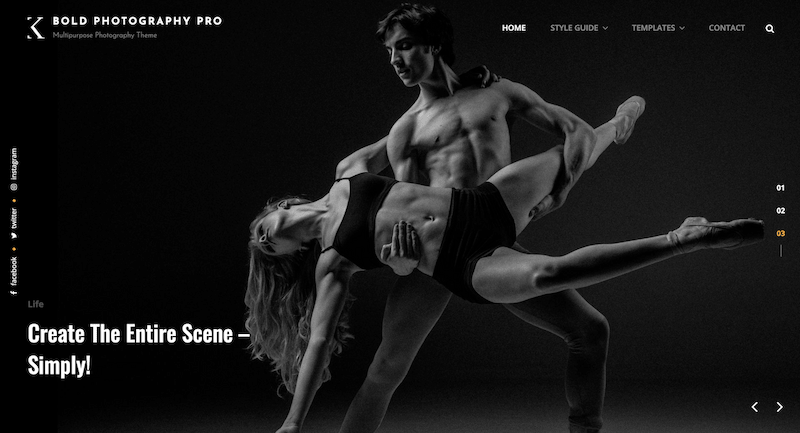
This dark and mysterious theme comes with a sleek design that will easily show your creativity. Choose from different theme options, responsive design, templates, menus, and more.
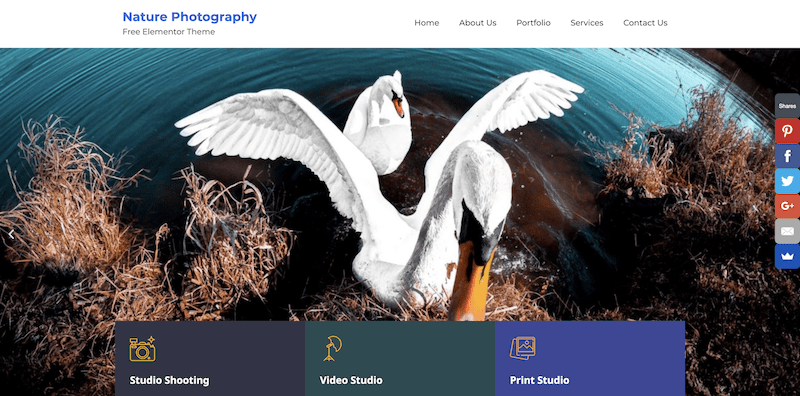
Elemento Photography
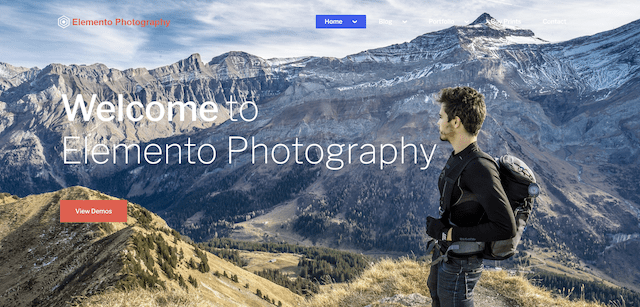
This simple and clean theme will help get your beautiful website up and running. Utilize features such as blog layouts, testimonials, SEO tools, and more custom options.
Once you have your perfect WordPress theme, follow these steps to install it onto your WordPress website with photography.
- Navigate to theDashboard -> Appearance section
- Click the Add New button
- Write the theme name in the search bar (or use Upload Theme if you have an archive)
- Click Install and then Activate to apply it
Then, head over to Appearance -> Customize section to edit your theme, header, footers, sidebar, site identity, and so on.
Install Plugins
Next, it's time to add some basic features to your website, which you can do by installing WordPress plugins. Here are some of the best ones currently:
- Yoast SEO. All-in-one tool that helps with all your SEO needs. From sitemaps and canonical URLs to meta titles and descriptions – you'll be able to customize it all.
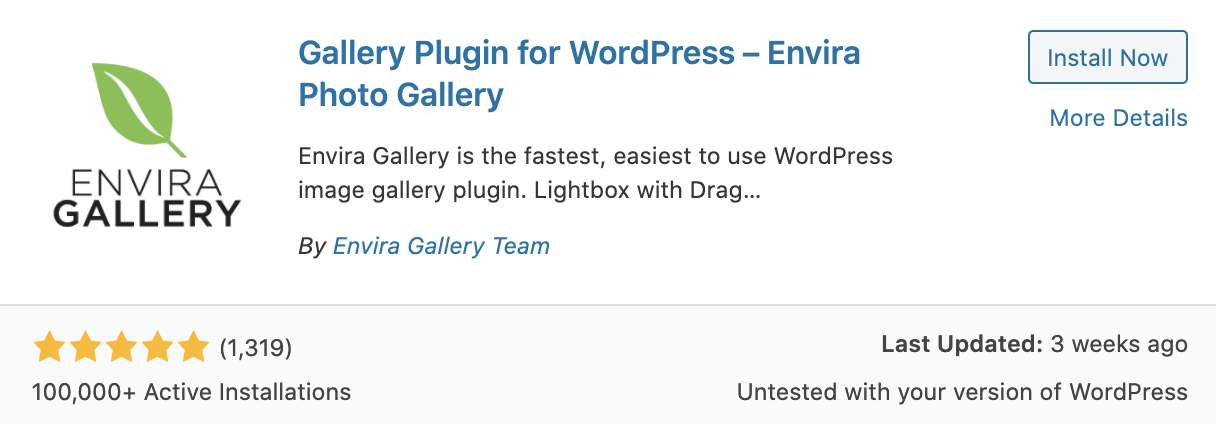
- Envira Gallery. A drag-and-drop tool used to easily create a WordPress picture gallery.
- Contact Form 7 or WPForms. Create multiple types of contact forms directly through your page.
- TinyPNG. Image quality is important as it can greatly affect your site's performance. And since a portfolio site with photography needs to load a lot, it's advisable to apply image compression.
To implement a new WordPress plugin on your site, follow these steps:
- Open up the Plugins -> Add New section in your dashboard
- Type in the name in the search bar (or use the Upload Plugin section if you have an archive)
- Click Install Now and Activate to enable it
- Go to Plugins -> Installed Plugins to manage it
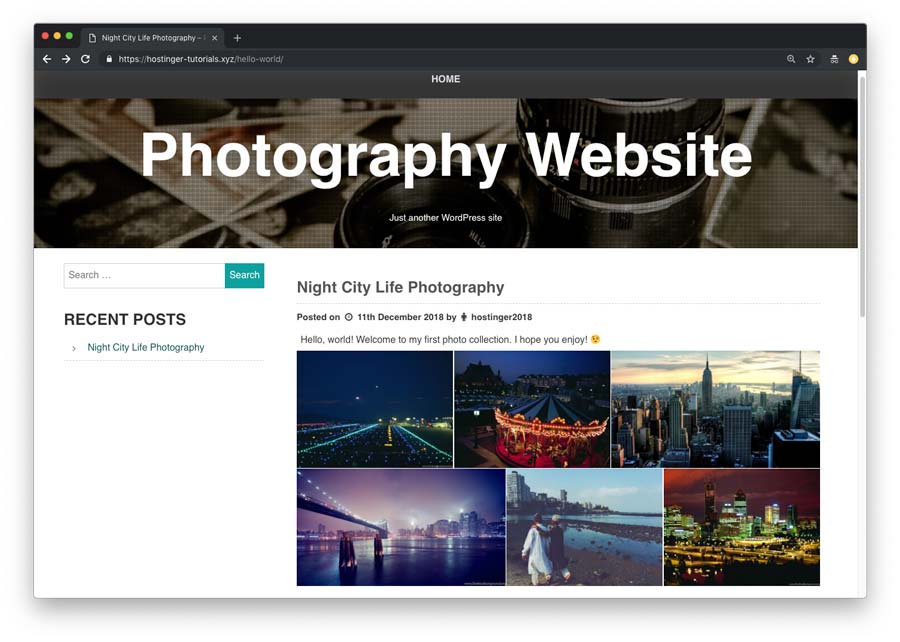
Set Up a Photo Gallery
Every photography website needs a gallery to showcase the stunning images you've captured.
If you installed Envira Gallery (there are many alternative plugins as well), this will be an easy task to perform. Here is how you can make an image gallery:
- Go through your images and pick the best ones
- Optimize them with TinyPNG for peak performance
- Access the Envira Gallery section in your dashboard
- Click the Add New button
- Upload the photos
- Save the gallery and you'll get a shortcode
- Paste the shortcode into a post to make your gallery appear
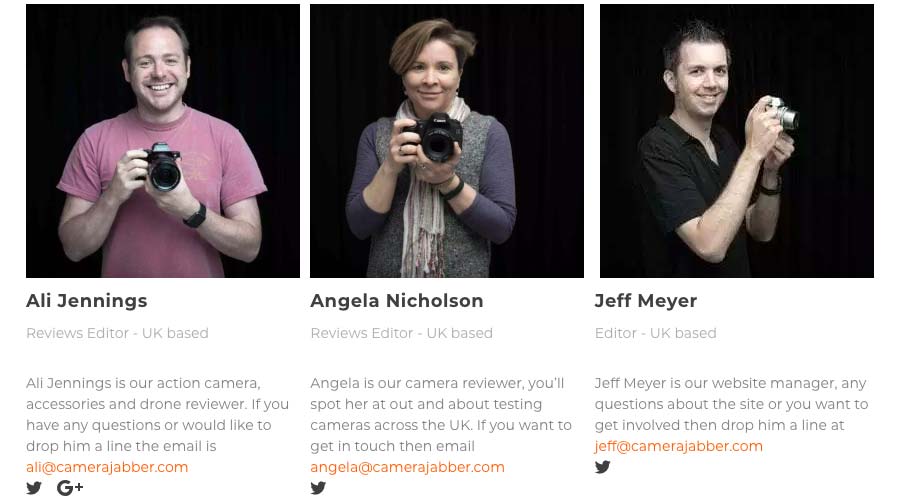
Create an About Me Page
Another crucial component of your photography portfolio site will be introductions. Do that with a simple About Me or About Us page. In your description remember to:
- Keep it short, simple, and engaging
- Express your passion for photography
- Tell the world why you're the best at what you do
To begin, go to Pages -> Add New and create a fresh draft with your picture and a short bio.
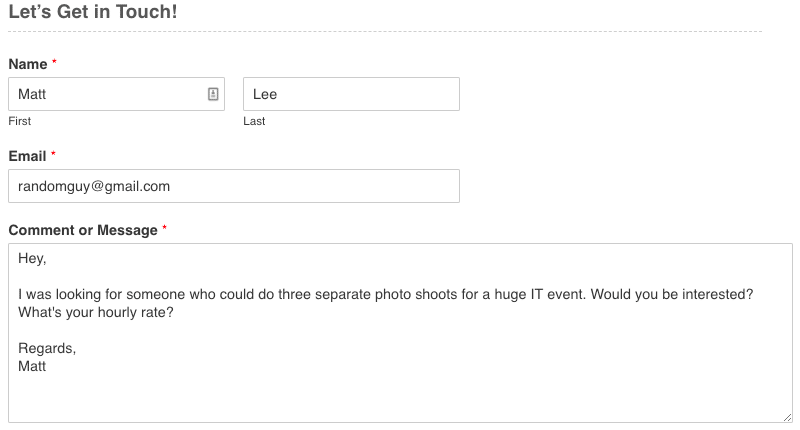
Implement a Contact Form
When creating a photography website will be a great way to get leads and new business opportunities. An easy way for visitors to get in touch with you is by setting up a contact form with the WPForms plugin.
After you install it, go to Dashboard -> WPForms -> Add New and set up a new form.
Select a Template or begin with a blank form. Provide the information needed and click Save when you are finished.
Step 5: Plan your website's growth

With the first version of your portfolio site about photography ready, don't plan on stopping your momentum. Here are 5 tips that will help you grow your creation into something bigger and better than the average online project.
Create a Blog Post Series
Ideally, we want people to find you first when they look up photography related terms. Starting a blog post series is the right step towards that direction. Here's what you can do:
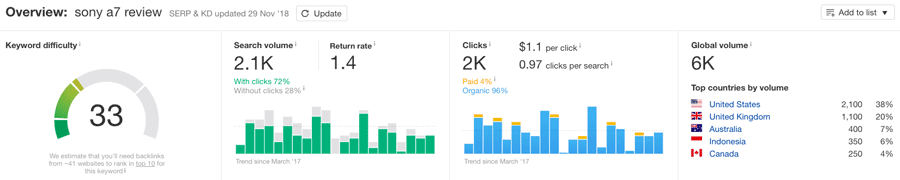
- Conduct keyword research to find potential article ideas
- Check their volumes using free keyword research tools
- Overview the top-ranking results for the chosen keywords
- Set up post drafts and write down your ideas
There are lots of options depending on what you aim to do with your photography website. For example, you could make camera reviews and include affiliate links for a little side income.
Improve SEO
Search engine optimization (SEO) is vital if you want your website to perform well organically. While learning may seem daunting, it's one of the best skills to have when building your online presence.
For example, since photography websites contain a large number of pictures, having image alt tags can greatly increase your visibility on search engines result pages. Here are a few reads that will help you get a better idea:
- 30 WordPress SEO Tips That You Can Apply Today
- How to Properly Optimize Your Images in WordPress
Integrate Social Media
Staying active within the community is a great way to build trust, engage with your customers, and improve brand awareness. If you are not on social media, then it's important that you start right away. Sign up with Facebook, Instagram, Twitter, and start building your audience.
Furthermore, you'll be able to integrate your website of photography with the help of plugins such as Super Socializer and Blog2Social (for automated article sharing). If one of your goals is to have as much exposure as possible, make sure to integrate your photography business on social media.
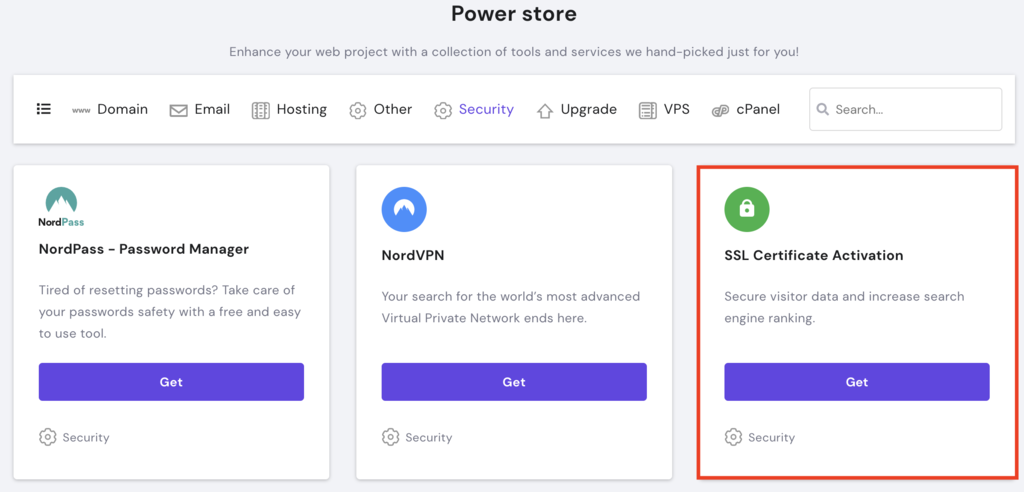
Set Up an SSL Certificate
Google has confirmed that HTTPS is a ranking factor. This means that websites without an SSL/TLS certificate will have a harder time ranking at the top of search engine results compared to those who use it.
Furthermore, without SSL/TLS, your site will display a "Not Secure" warning on modern browsers such as Chrome.

However, with Hostinger you don't need to worry about that. You can receive a free SSL certificate with every annual Business web hosting plan purchase. Or grab one separately from our Power Store.
As for enabling HTTPS on your WordPress site, there are additional steps that you'll need to take. The easiest solution is installing a plugin called Really Simple SSL, which will handle the migration to HTTPS for you.
Speed Up Your Site
Website speed is another important ranking and performance factor. More than 40% of visitors will leave your site if it takes more than 3 seconds to load.
Here are our top recommendations to make your photography website lightning-fast:
- Use caching. Cache refers to temporary storage that lets you bypass PHP requests, thus making your pages load much quicker. To get the best results, you should install a caching plugin and leverage browser caching.
- Take image optimization seriously. Since you'll have lots of images, make sure they are properly sized and compressed through a tool like TinyPNG.
- Implement a CDN. Content delivery networks will improve speed and responsiveness by serving resources from a location closest to your visitor. One of the top solutions is Cloudflare (which we also offer in our Power Store).
- Run speed tests. If you want to know how fast your site is, use tools such as GTMetrix or PageSpeed Insights by Google.
Final Word
Making money online from your hobby is a dream that many people seek. Luckily these days, all you need is a website idea, an online store, and a bit of hard work to get things going.
And there you have it. Your very own photography website created in just 5 simple steps.
Keep in mind that websites are a long-term investment, and it will take some time before you conquer the first pages of Google. But if you try hard enough, you can surely make it happen.

Domantas leads the content and SEO teams forward with fresh ideas and out of the box approaches. Armed with extensive SEO and marketing knowledge, he aims to spread the word of Hostinger to every corner of the world. During his free time, Domantas likes to hone his web development skills and travel to exotic places.
How To Create A Photography Page
Source: https://www.hostinger.com/tutorials/how-to-make-a-photography-website
Posted by: gomezclot1989.blogspot.com
0 Response to "How To Create A Photography Page"
Post a Comment